Have you ever wanted to make a Sega Saturn game, but then realize that writing all your code in Notepad++ is a giant pain? Well, you can use Visual Studio Code and have a nice experience with stuff like built-in version control clients, Intellisense code completion, and more.
This guide assumes you're using the Sega Basic Library, but it should be fairly applicable to SGL/whatever else as well, just modify the include paths.
You can get it from here.
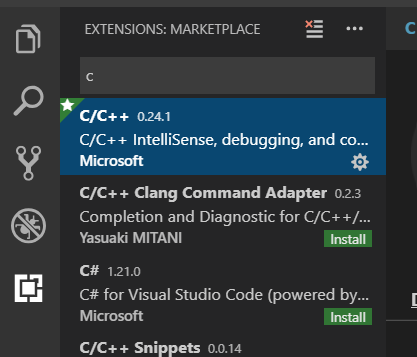
Search "c" in the extensions thing and install the one by Microsoft.
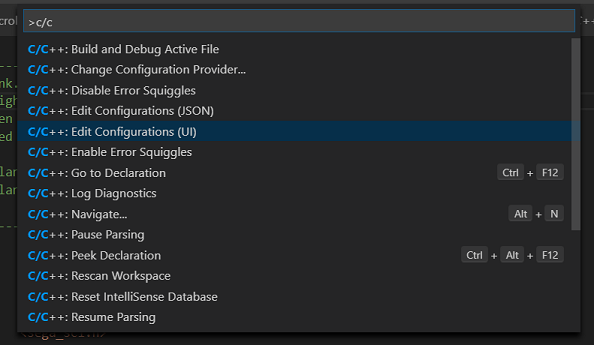
Type Ctrl+Shift+P to enter the Command Palette. Start typing "C/C++" and then choose "Edit Configurations (UI).
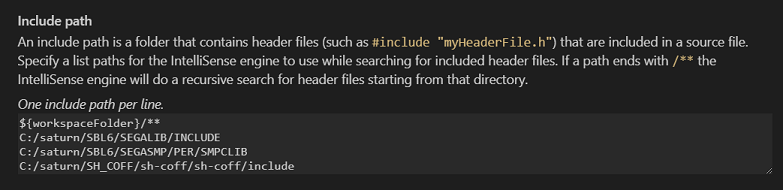
Scroll down until you find "include path" and add wherever you put your compiler's "include" folder as well as the "include" folders for whatever library you're using.
Go to "File->Open Folder..." and open your project's root directory.
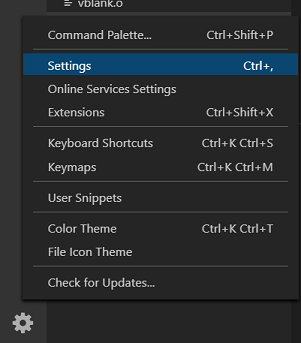
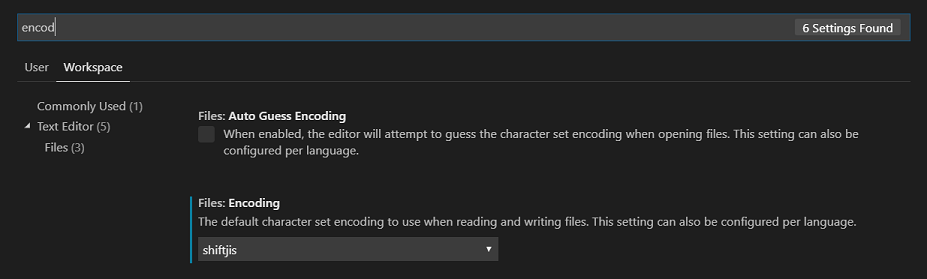
I don't know if this is required for other libraries, but for SBL the text is all encoded with Shift-JIS. This means that all the comments and stuff in all the Sega files will be in unreadable jibberish instead of somewhat readable Japanese. To make Visual Studio Code read these files correctly, first click on the gear at the bottom and click "Settings".
Next, click "Workspace" near the top and start typing "encoding" until you see the "Files:Encoding" setting. Select "shiftjis".
You should be good to go. I'd recommend setting up tasks to build, clean, and run your project. See here for more information on tasks and here for how I configured it.